
How To Make Your Own Spare Keys Using An Open Flame And Some Ingenuity – Genius!
Your stuff should be locked away securely when SHTF, but what if you lose a key? Learn to make your own spare keys with this brilliant tutorial!
[cmamad id=”3117″ align=”center” tabid=”display-desktop” mobid=”3104″ stg=””]
Hack #1: Heat It Up or Pen It Out
Tools needed are:
- Clear tape
- Lighter
- Tin can lid/piece of plastic bottle or plastic card
- Sharp scissors or exacto knife
- Flathead screwdriver
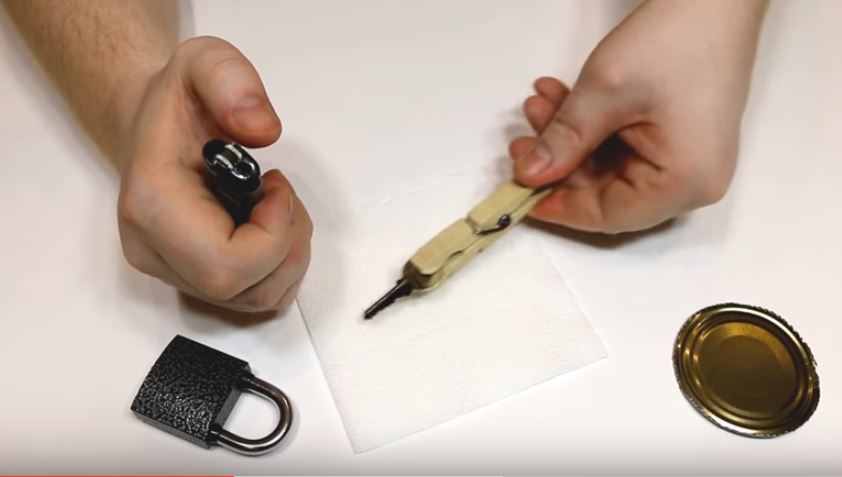
Step 1: Place the Original Key Over a Flame
Place the original key over a flame until it creates a black coating on the surface. You can set it down and let it cool black side up. You can also us a marker for this method.
Step 2: Use Clear Tape
Place a clear tape (sticky side) on top of the black coating covered key part once it’s cool enough. Then remove the tape carefully and you will see a black coating on the tape. It will have to be an exact copy after that.
Step 3: Stick It
Choose a lid from a can of food, a plastic bottle or plastic card. Then stick the tape on the surface.
Step 4: Cut It Out
Using the tape with soot as an outline carefully cut out the metal can, a piece of plastic bottle, or plastic card with a piece of sharp scissors or an xacto knife. Be accurate on the edges of the key to make it work. When done, hold it up against the original then cut out any overlapping flaws.
Step 5: Test and Support
Test and support the duplicate key with a flat screwdriver so it won’t break. It will also be easier to twist the drum bolt around. It may take a bit of wiggling but if it’s cut out correctly, it will definitely work.
Hack #2: Mold It
Materials needed are:
- Part 1 & 2 mold solution
- Part 3 (hardener) mold solution
- Low melting point metal ingots
- Casting ladle
- Butane gas torch
- Tubular plastic container
- Key to be duplicated
Step 1: Mix Molding Solution
First, mix mold solution 1& 2 plastic tubular container. When done, mix the hardener (mold solution 3). You have under a minute to set the key in the mold after mixing all three solutions.
Step #2: Insert the Key and Let It Dry
Insert the key in the mixture. Align it as straight as possible with the sides of the container. Lift it once to prevent air bubbles then insert again. You can use a key holder to make it stable. Let it dry for 5 – 10 minutes. When it’s ready, push the mold out from the bottom with your finger.
Step #3: Cut the Mold Open
Cut the mold open on one side with an xacto knife or cutter, preferably the solid part. Be careful not to cut the important parts of the mold. Then open the cut part and remove the key. Cut he hollow top portion of the mold making it funnel-like.
Step #4: Heat Metal Ingot and Pour in Casting Mold
Place the mold back into the tubular plastic container. Place the metal ingot in the casting ladle then start heating it up with the butane gas torch until it melts. When it is in liquid form, immediately pour it into the mold. Tap the mold to avoid air bubbles.
Step #5: Remove and Test
Let it cool down for a few moments then start removing the mold and then test if it works. If steps are followed correctly, you will have an exact mold copy of your key, be it your car key, house key, or other keys to access your property.
[cmamad id=”3146″ align=”center” tabid=”display-desktop” mobid=”3147″ stg=””]
So there’s two different way to make your own spare keys! They’ll definitely help boost security and safety, especially for your storage! For more great survival tips and tricks, check out Survival Life.
Please SHARE this with your family and friends – thanks
